Appendix
Test Write Speed
The following data is a summary of Test Write Speed carried out on various hardware configurations. The Test Write Speed button can be found via File > SharpCap Settings > Filenames tab. Notice the wide variance in Mb/s and frames per second with the various hardware.
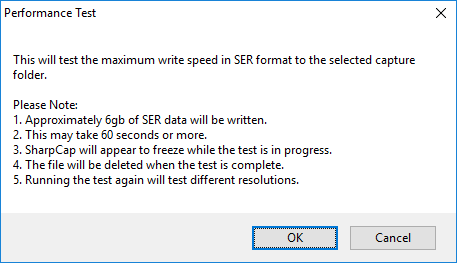
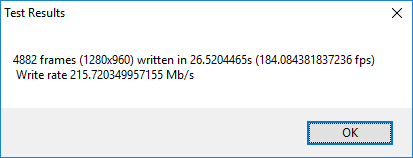
Expect to see a spinning circle while the test is in progress (there is no visible feedback during the test). At the end of the test the results are displayed:
This test showed a write rate of 215Mb/s (on a 10,000rpm Western Digital Raptor drive running on a Quad Core Xeon processor motherboard with 16Gb of memory). The platform was Windows 10 Pro 64-bit. Results will vary here depending on hardware capability.
This table compares the performance of various hardware configurations. All tests wrote out 4,882 frames at 1280 x 960.
|
Hardware |
Processor |
Memory |
Hard Drive |
Operating System |
Test Results |
|
|
Mb/s |
*fps |
|||||
|
HP Z220 Workstation |
Xeon Quad Core, 3.4GHz |
16Gb |
500GB SATA2, 10,000 rpm |
Windows 10 Pro, 64-bit |
215 |
184 |
|
ThinkPad W510 laptop |
i7 Quad Core, 1.73GHz |
16Gb |
500Gb SATA2, 7,200rpm |
Windows 10 Pro, 64-bit |
240 |
205 |
|
ThinkPad T400 laptop |
Core 2 Duo, 2.4GHz |
8Gb |
240Gb SATA2 SSD |
Windows 10 Pro, 64-bit |
191 |
163 |
|
ThinkPad X61 laptop |
Core 2 Duo, 1.86GHz |
4Gb (3Gb usable) |
120Gb SATA2 SSD |
Windows 10 Pro, 32-bit |
97 |
83 |
|
Linx 10 Tablet |
Atom Z3735F, 1.33GHz |
2Gb |
32GB eMMC |
Windows 10 Home, 32-bit |
44 |
38 |
Note: *fps = frames per second
Consider the hardware demands when purchasing high frame rate cameras.
SharpCap Uninstall Clean-up
After uninstalling SharpCap the following steps can, optionally, be carried out.
[Optional] Remove Profile data (if created) – profile data is stored in %APPDATA%\rwg\SharpCap\CaptureProfiles . Navigate to this folder from Search or Run and delete the contents of the CaptureProfiles folder.
The step below can be omitted but is included for completeness. Always backup the registry before making changes to it.
[Optional] Remove Registry Entry – run Regedit. Export the registry as a precaution. Navigate to HKEY_CURRENT_USER\SOFTWARE\RWG\SharpCap and delete the 2.9 key.
Maintenance of Capture Profiles
When a new capture profile, say Jupiter RGB32, is created, the following happens:
1. A text file called Jupiter RGB32 (name of active camera>.ini) will be saved in the folder %APPDATA%\rwg\SharpCap\CaptureProfiles.
2. The location of the stored profiles can be accessed by copying and pasting %APPDATA%\rwg\SharpCap\CaptureProfiles into the Windows search bar. This would be the way to delete unwanted capture profiles.